Booting a Physical Windows 10 Disk Using VirtualBox on Linux
Friday 9th November 2018
I recently acquired a computer with an OEM/factory-imaged Windows 10 disk inside. Straight away I took the disk out and replaced it with a Linux SSD, however since I don't own any other Windows systems, this will come in useful for testing my website for browser compatibility in Internet Explorer and Edge.
I have put the Windows 10 disk in a USB SATA drive enclosure, and configured VirtualBox to be able to boot the raw disk. Now I'm able to test my site in IE and Edge usng the virtual machine running on my system.
Skip to Section:
Booting a Physical Windows 10 Disk Using VirtualBox on Linux
┣━━ Identifying the Disk
┣━━ File System Permissions
┣━━ VirtualBox Raw Host Access VMDK File
┣━━ Creating and Configuring the Virtual Machine
┣━━ Troubleshooting: Windows is Hibernated, Refused to Mount
┗━━ Conclusion
Identifying the Disk
Mounting the disk/partitions is not actually required for VirtualBox to be able to boot it, however you will need to identify the correct block device ID for the disk (e.g. /dev/sdb).
If you're using a modern desktop environment and file manager (e.g. XFCE with Thunar), the Windows 10 disk will probably be automatically mounted (if you get stuck at the error 'Windows is hibernated, refused to mount.', please see the troubleshooting here). In my case, the Windows and Recovery Image partitions were auto-mounted. Then, you can use lsblk (List Block Devices) to identify the correct device. For example:
$ lsblk
NAME           MAJ:MIN RM   SIZE RO TYPE  MOUNTPOINT
sdb              8:16   0 931.5G  0 disk
├─sdb4           8:20   0   980M  0 part
├─sdb2           8:18   0   128M  0 part
├─sdb5           8:21   0  17.2G  0 part  /media/jamie/Recovery Image
├─sdb3           8:19   0 912.9G  0 part  /media/jamie/Windows
└─sdb1           8:17   0   360M  0 part
sda              8:0    0 111.8G  0 disk
├─sda2           8:2    0     1K  0 part
├─sda5           8:5    0   3.9G  0 part
│ └─cryptswap1 253:0    0   3.9G  0 crypt
└─sda1           8:1    0 107.9G  0 part  /
From this, you can determine that /dev/sdb is the Windows 10 disk.
If your disk is not automatically mounted, you don't need to mount it. You can use lshw to determine the correct device. For example:
$ sudo lshw -short -class disk,volume
H/W path               Device           Class          Description
==================================================================
/0/100/14/0/7/0.0.0    /dev/sdb         disk           1TB 2115
/0/100/14/0/7/0.0.0/1  /dev/sdb1        volume         359MiB Windows FAT volume
/0/100/14/0/7/0.0.0/2  /dev/sdb2        volume         127MiB reserved partition
/0/100/14/0/7/0.0.0/3  /dev/sdb3        volume         912GiB Windows NTFS volume
/0/100/14/0/7/0.0.0/4  /dev/sdb4        volume         979MiB Windows NTFS volume
/0/100/14/0/7/0.0.0/5  /dev/sdb5        volume         17GiB Windows NTFS volume
/0/1/0.0.0             /dev/sda         disk           120GB KINGSTON SV300S3
/0/1/0.0.0/1           /dev/sda1        volume         107GiB EXT4 volume
/0/1/0.0.0/2           /dev/sda2        volume         4008MiB Extended partition
/0/1/0.0.0/2/5         /dev/sda5        volume         4008MiB Linux swap / Solaris partition
From this example output, you can see that /dev/sdb is the Windows 10 disk. This may differ for you though.
For the rest of this document, I will refer to the correct block device ID for your system as /dev/sdX. Make sure to substitute this with the correct one for your system in commands that you execute.
File System Permissions
In order to have full, unrestricted access to the Windows 10 disk without having to use sudo, you need to give your user account the appropriate permissions.
There are two main ways that this can be configured. The proper, higher-security method which is best for production/important systems, or the quicker, lower-security method which is suitable for test/disposable systems. You can choose which is best for you - you only need to complete one of them.
Higher-Security File System Permissions Configuration
If you are using a system where security is important, the best way to achieve this is to create a udev rule to match the Windows 10 disk and assign it to a particular group. Then, your non-privileged user account will have full read-write access to the disk(s) that match the rule, while the others remain protected.
First, create a new group to use for the Windows 10 disk:
$ sudo groupadd win10disk
Then add your own user to the group:
$ sudo usermod -a -G win10disk youruser
Next, you need to determine the UUID of the Windows 10 disk. You can do this using udevadm:
$ sudo udevadm info /dev/sdX | grep UUID
This should output the UUID of the Windows 10 disk. For example:
E: ID_PART_TABLE_UUID=01234567-89ab-cdef-0123-456789abcde
E: means that it's a device environment variable, and the variable could be ID_PART_TABLE_UUID, ID_FS_UUID or something else with a similar meaning.
If no UUID is outputted, try omitting the grep and looking for other variables that contain the UUID. If for some reason no UUID is returned, you may be able to use other attributes to uniquely identify the disk, however this may result in inaccuracies.
Take a copy of the variable name and UUID, and create a file in the udev rules directory, such as /etc/udev/rules.d/99-win10disk.rules. Edit the file and add the following content, adjusting the variable name, UUID and group as required:
ENV{ID_PART_TABLE_UUID}=="01234567-89ab-cdef-0123-456789abcde", GROUP="win10disk"
Make sure to pay attention to the operators used in the rule. Like in most programming languages, == is an equality check and = is an assignment, so make sure to get these the right way around in the rule. You want to be checking the UUID and assigning the group, not the other way around!
Save the file, then power cycle the Windows 10 disk (disconnect and reconnect, reboot, etc).
Then, check that the rule worked by listing the block device file and checking the group:
$ ls -l /dev/sdb
This should output similar to the following:
brw-rw---- 1 root win10disk 8, 16 Nov 4 23:33 /dev/sdb
The key attribute to check is that the group is win10disk. If it is, then the file system permissions are configured correctly and you can proceed to the next section.
Lower-Security File System Permissions Configuration
On the other hand, if you're using a system where security is less important (such as a disposable test machine), there is a quicker method. First, determine the group that has access to the drive:
$ ls -la /dev/sdX
This will output something like the following:
brw-rw---- 1 root disk 8, 16 Nov 3 23:36 /dev/sdb
From this, you can determine that the group is disk, and that this group has read and write access to the block device (brw-rw----).
The group name and permissions may differ for you, however in many cases it will be as above.
Next, add your user to the group. Please be aware of the potential security implications of this, as you will probably be giving your user account full read-write access to some or all storage devices. If the group is something else such as root, you should consider the higher-security setup instead.
sudo usermod -a -G disk youruser
VirtualBox Raw Host Access VMDK File
In order for VirtualBox to be able to boot the physical Windows 10 disk, you need to a create a special VMDK (Virtual Machine Disk) file that represents the physical disk.
These raw host disk access VMDK files do not actually contain any data from the physical disk, they are just a pointer that VirtualBox can use to access it.
You can create a VirtualBox raw disk image using VBoxManage. You can specify a location in the -filename argument:
$ VBoxManage internalcommands createrawvmdk -filename /path/to/diskname.vmdk -rawdisk /dev/sdX
This should output something similar to the following:
RAW host disk access VMDK file /path/to/windows10.vmdk created successfully.
The raw host disk access VMDK file only contains ASCII test, so you can cat or less it and have a look!
Creating and Configuring the Virtual Machine
Now that the raw host disk access VMDK has been created, you need to create a new VM and boot from it.
Just set up a virtual machine as you normally would. Make sure to choose the correct type and version.
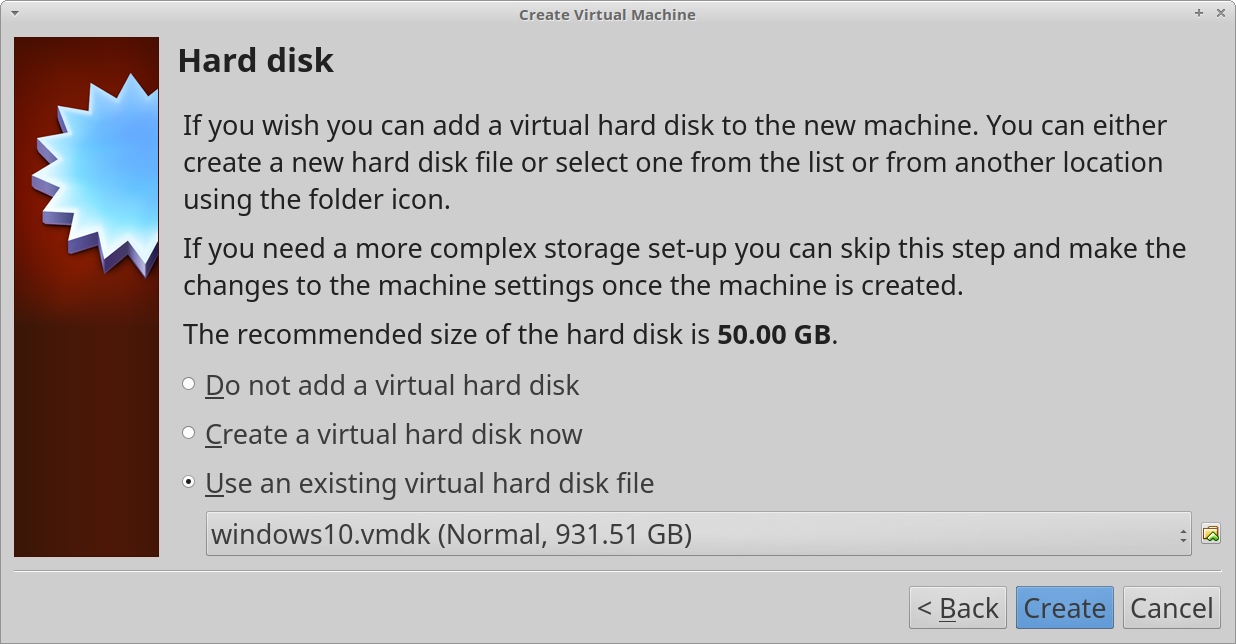
When you get to the 'Hard disk' section, select 'Use an existing virtual hard disk file', and choose the VMDK file that you created in the previous step.
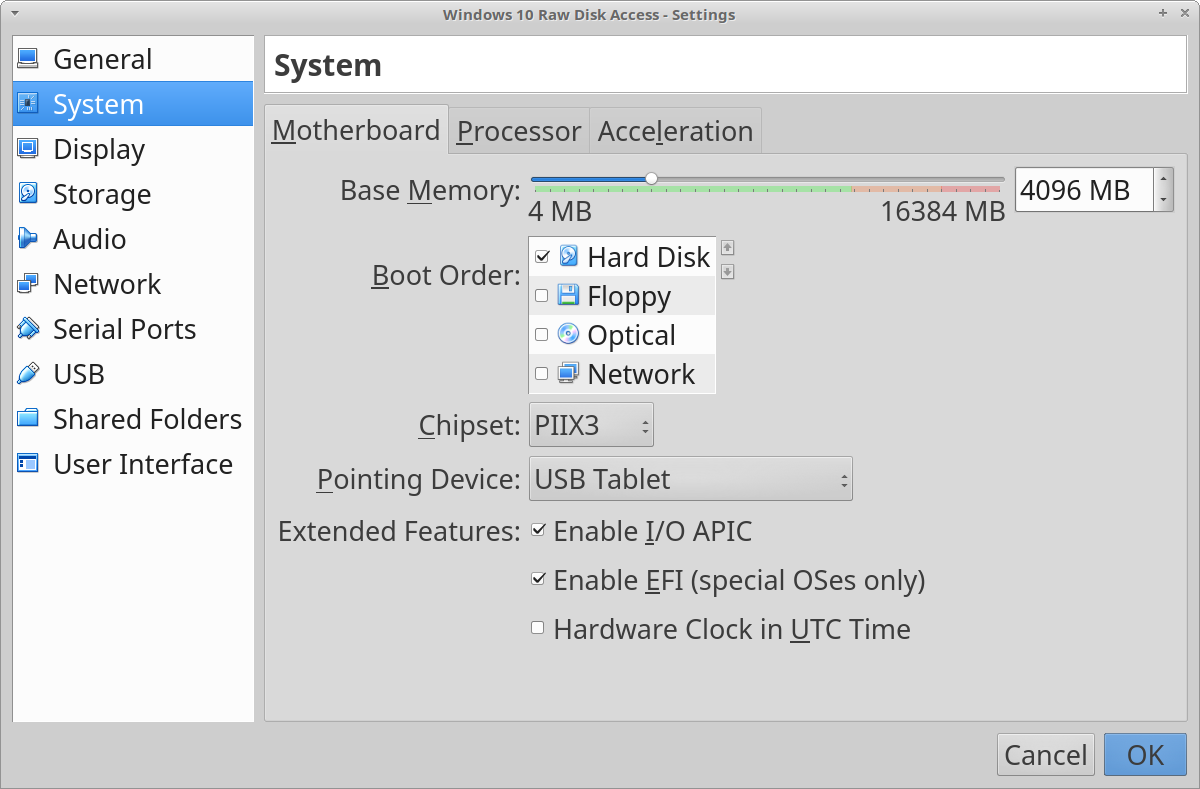
Once you have completed the initial setup wizard, open the settings for the virtual machine, give it some extra CPU cores if possible, then set the boot order to 'Hard Disk' first, with all other options disabled.
If the Windows 10 install on the disk is an EFI install, make sure to tick the 'Enable EFI' box.
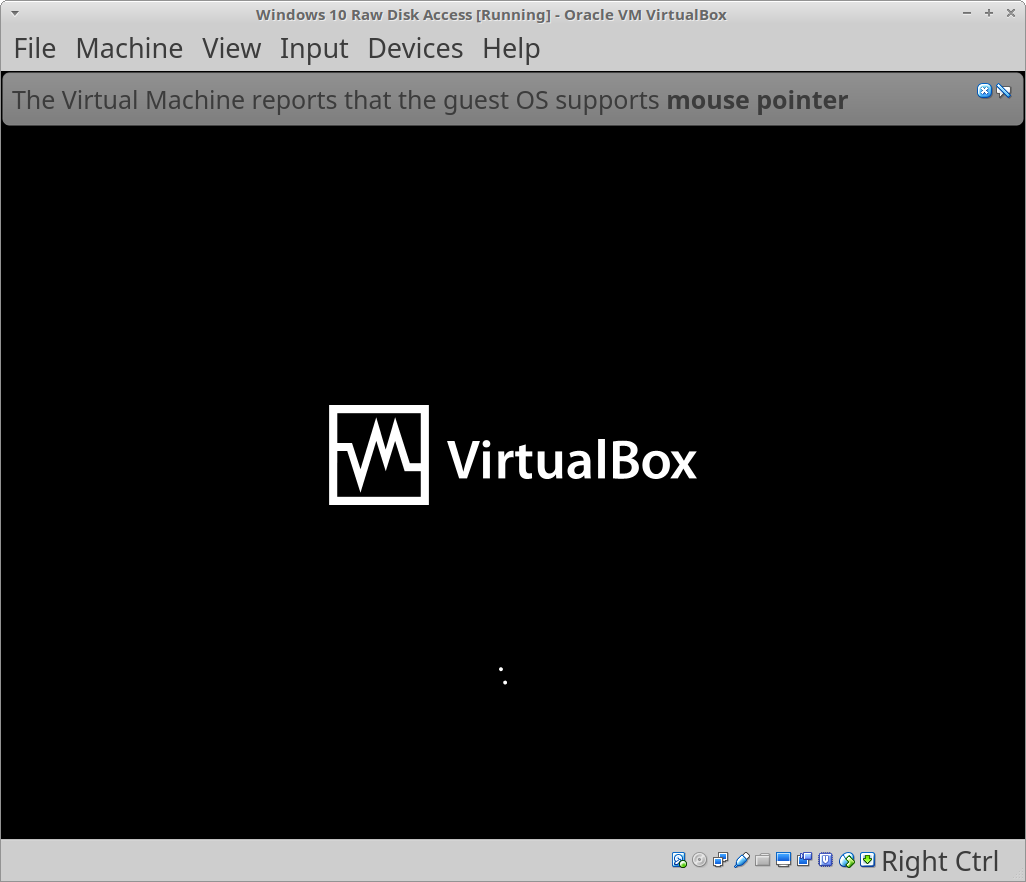
Save the settings, and then boot the virtual machine. If everything has worked, Windows 10 should boot up successfully.
If this is the first time you've booted the drive (it was for me), you'll have to go through the initial Windows 10 setup process where you choose the region, language, keyboard layout, etc. Cortana started speaking to me during the setup process so watch out for that!
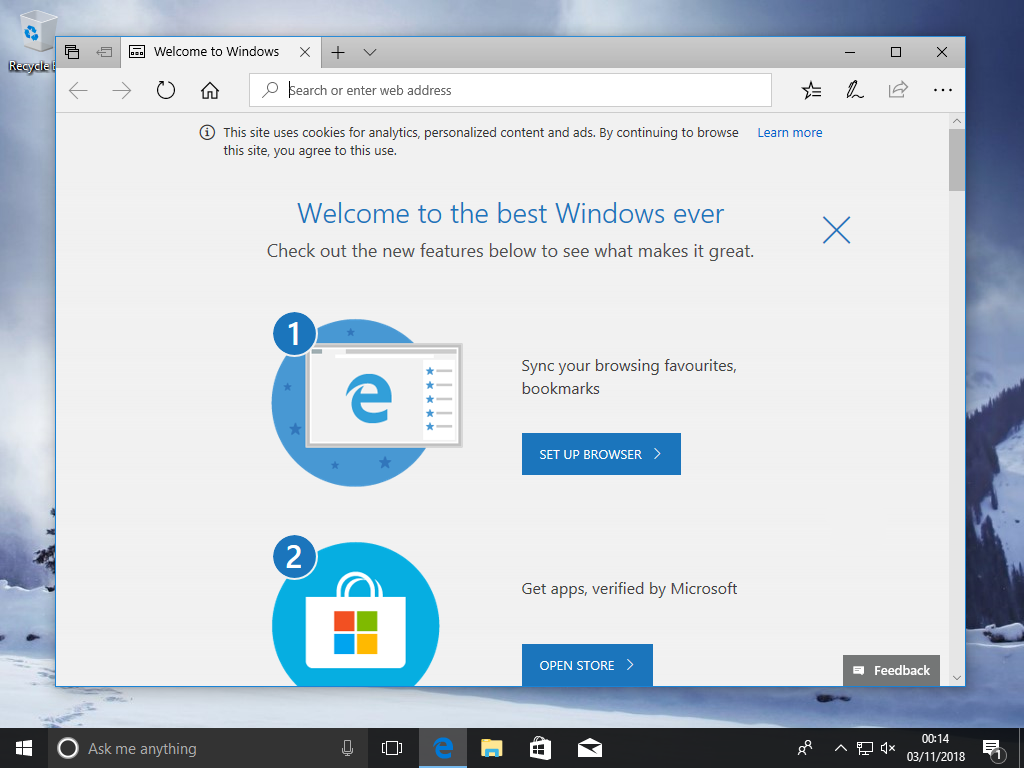
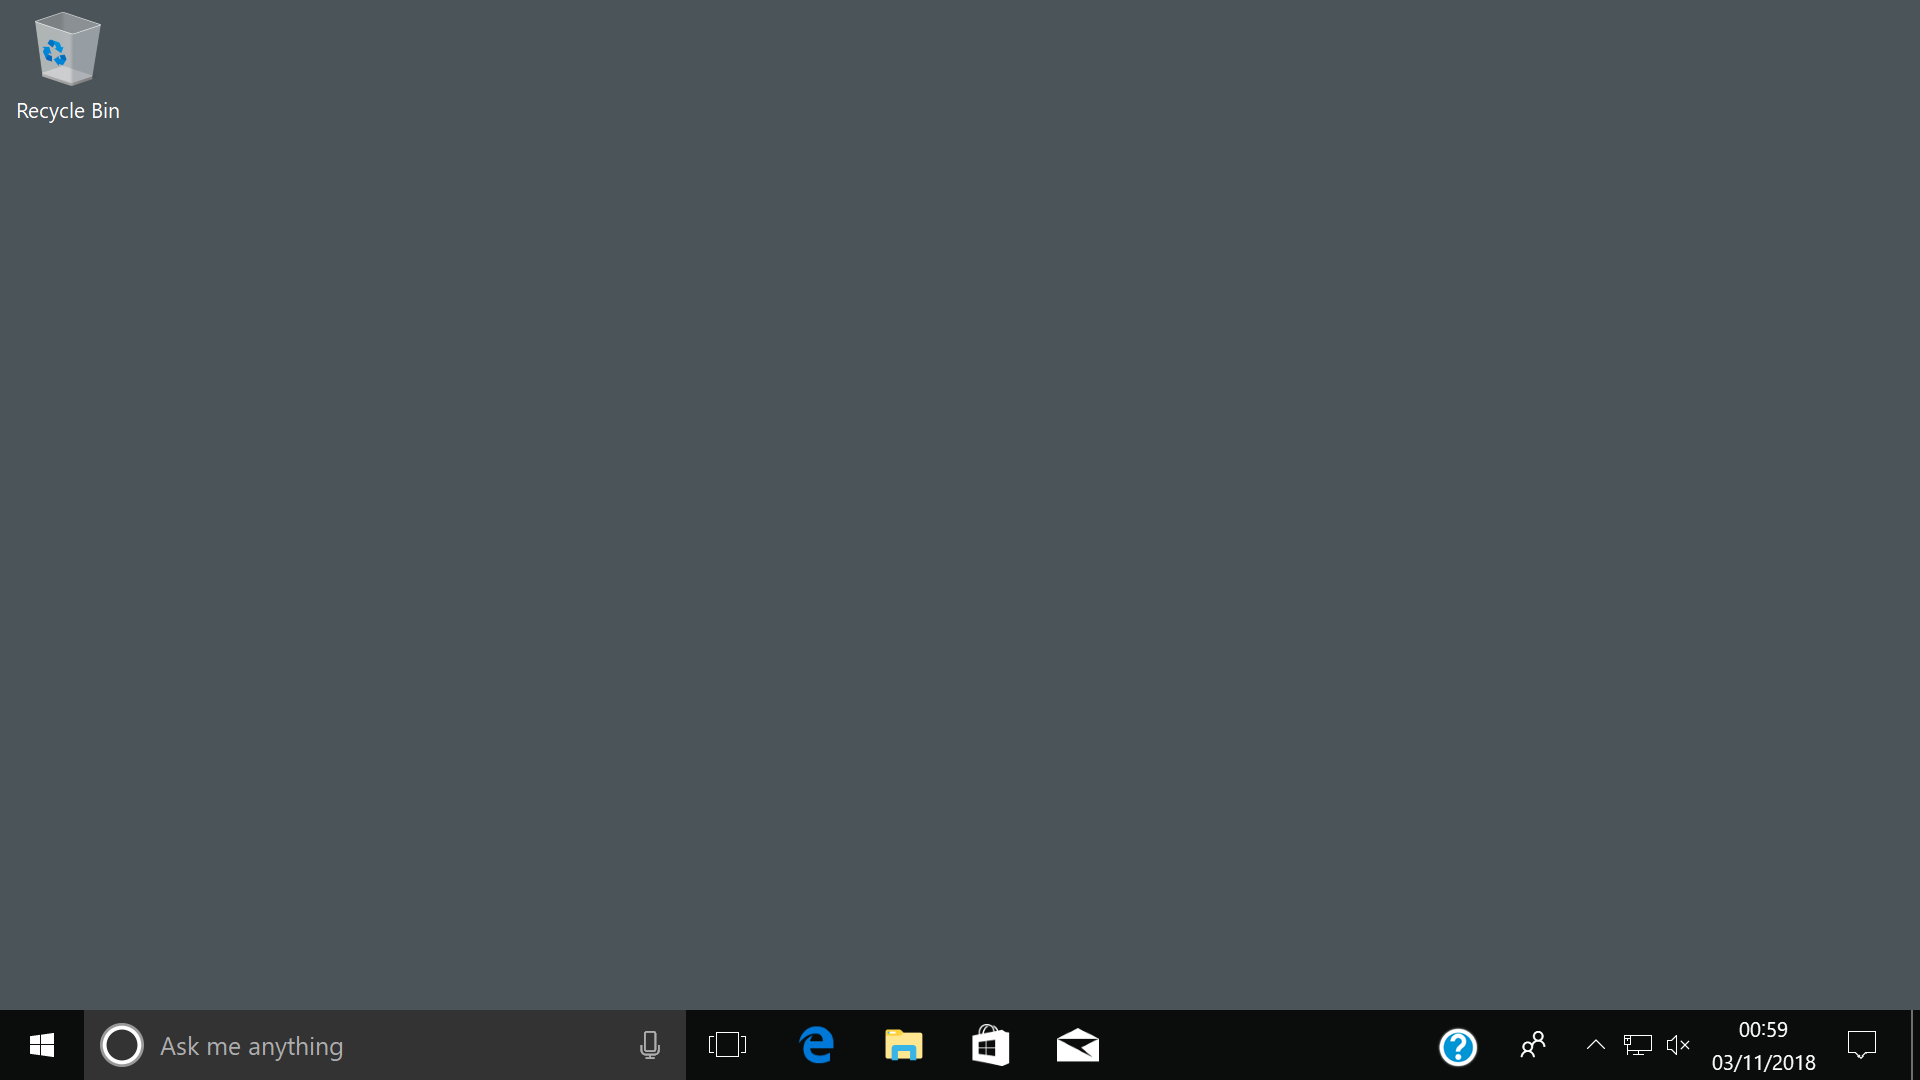
Once you're all done with setup, Windows 10 should boot to the desktop successfully.
If you want to be able to make Windows 10 full screen, etc, install the VirtualBox Guest Additions using Devices -> Insert Guest Additions CD image..., then run the installer in the virtual machine.
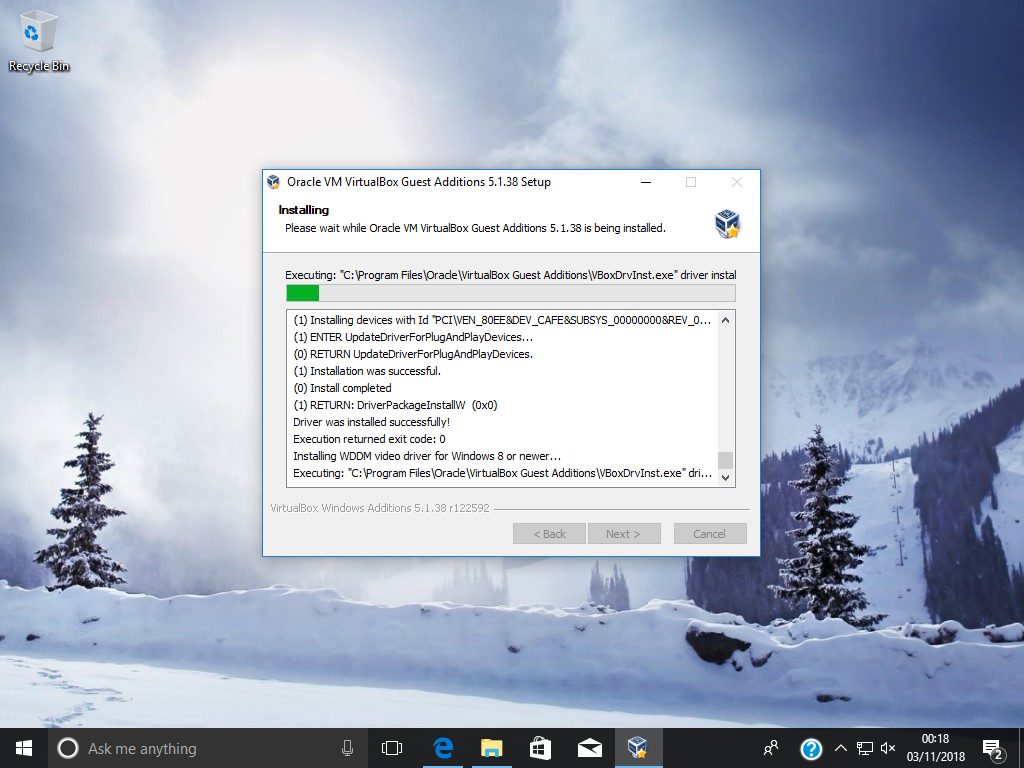
Once this is complete, reboot the virtual machine and Windows should automatically display in full screen. If not, you should be able to manually set your resolution using the display settings in Windows.
When it comes to Windows Product Activation, I'm not really able to advise. I've heard that Windows will often become unactivated when changing hardware, however in my case the activation remained. This may be because I never actually fully booted the Windows 10 disk when it was in the original desktop machine.
Troubleshooting: Windows is Hibernated, Refused to Mount
When mounting the Windows 10 disk, you may see the following error:
Failed to mount "Windows".

Error mounting /dev/sdb3 at /media/user/Windows: Command-line `mount -t "ntfs" -o "uhelper=udisks2,nodev,nosuid,uid=1000,gid=1000" "/dev/sdb3" "/media/user/Windows"' exited with non-zero exit status 14: Window is hibernated, refused to mount.

Failed to mount '/dev/sdb3': Operation not permitted

The NTFS partition is in an unsafe state. Please resume and shutdown Windows fully (no hibernation or fast restarting), or mount the volume read-only with the 'ro' option.
This can occur if Windows 10 is hibernated, or was otherwise not correctly shut down.
In order to fix this you need to remove the hibernation file. This can be done using mount.
In the command examples below, make sure to change N in /dev/sdXN to the partition number of the main Windows partition. Also change the X to the correct block device ID as usual.
Please be aware that this will permanently erase the hibernation file, so any data not properly saved will be lost.
$ sudo mkdir /path/to/desired/mount/directory
$ sudo mount -t ntfs-3g /dev/sdXN /path/to/desired/mount/directory -o remove_hiberfile
Conclusion
I'm pleasantly surprised that this worked - I was expecting Windows to fail to boot or at least have serious problems due to the drastic change in hardware from the original machine, but it seems to work fine.
I'm going to use this VM to test my website for compatibility in Internet Explorer and Edge, in order to make sure that everything is presented as best as it can be.
On a side note, look how much bloatware came pre-installed on this. It's just a standard Windows 10 disk pulled from a shop-bought HP desktop machine... unbelievable!
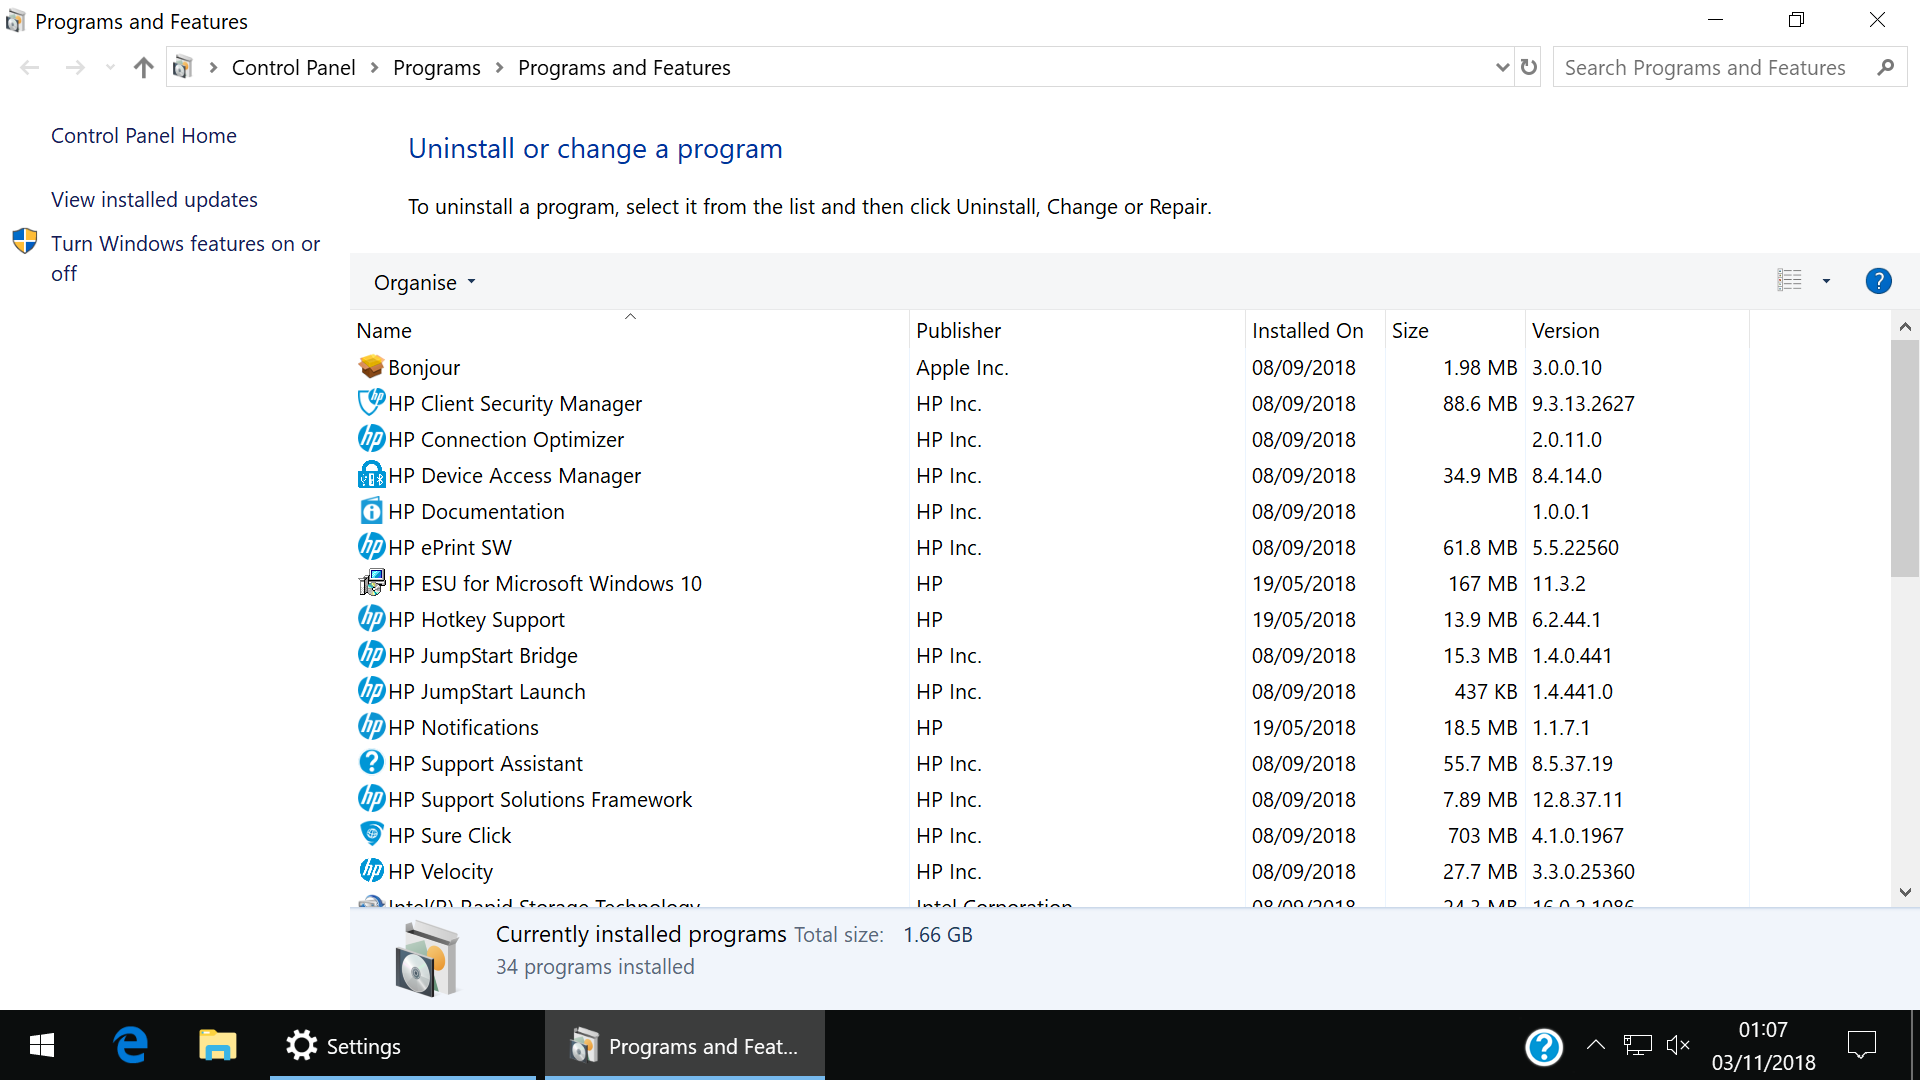
Luckily this is in a VM on my segregated test machine. I wouldn't want to be exposing all that to my network!